Google Ads in Get Shouting
Conversion goals and Google tags drive optimization; Get Shouting connects your account and lets you pick campaign type at publish.
Get Shouting publishes paid Google ads with your clean product photo (Google adds headline, logo, and button). Connect once in Paid Ad Settings → Google Ads, set conversion goals and tags in Google Ads and on your store, then choose Demand Gen, Performance Max, or Responsive Display at publish. Campaigns go live ENABLED. New to paid ads? Start with How Paid Ads Work.
Why It Matters
Google optimizes delivery toward conversion goals in your Google Ads account (Purchase, Lead, sign-up, and other actions you define under Goals → Conversions). Those goals need Google tags firing on your storefront; Get Shouting does not install tags or pick conversion goals in the app.
In Get Shouting you connect the customer account in Paid Ad Settings and choose campaign type at publish (Demand Gen, Performance Max, or Responsive Display). Campaign type controls where Google can show ads; conversion goals control who Google bids for and what outcome counts as success. Platform reference: Performance Max conversion goals.
Plan & Setup Notes
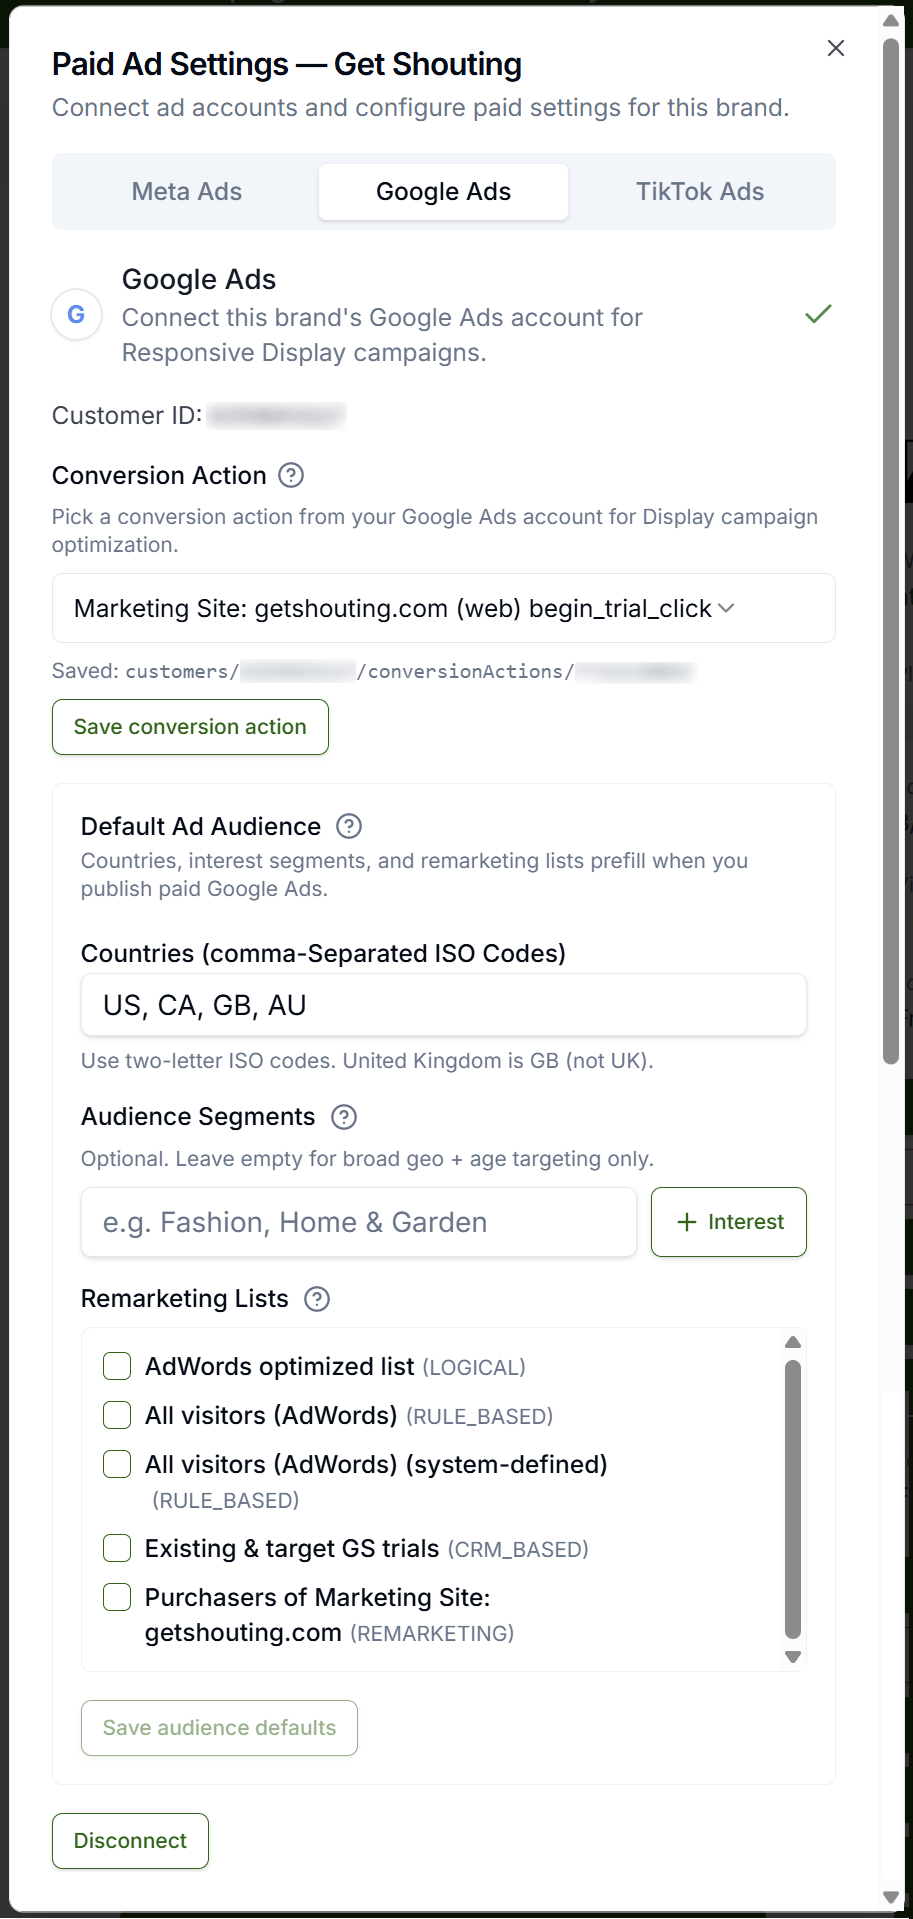
Google publish requires Pro or Agency (including free trial on those plans). In Get Shouting, connect under Paid Ad Settings → Google Ads and save your 10-digit customer account ID (no conversion-goal picker in brand settings, unlike Meta). Before you publish, set conversion actions in Google Ads and install matching Google tags on your store; Google uses those signals to optimize. At publish, choose campaign type in Google ad setup; campaigns go ENABLED. Google receives your product photo without designed overlay.
What to Do
Connect and Publish in Get Shouting
- Paid Ad Settings → Google Ads → OAuth → Save customer account (10-digit Customer ID).
- +CREATE → Social → Create Ad or +CREATE → Campaign with Social Ads → check Publish to Google Ads (paid).
- In Google ad setup, pick Demand Gen, Performance Max, or Responsive Display → set gross spend and flight dates → publish.
- Campaign publishes ENABLED in Google Ads for your flight dates; no activate step like Meta.
- Google receives your clean product photo; headline, logo, and button are assembled by Google from your ad copy and brand settings.
Conversion Goals and Google Tags
Unlike Meta (where you pick conversion optimization in Paid Ad Settings), Google optimization is configured in your Google Ads account and on your storefront:
- In Google Ads, define conversion actions under Goals → Conversions (e.g. Purchase, Lead, sign-up).
- Install Google tags on your store so those actions fire (Shopify Google & YouTube app or WooCommerce Google for WooCommerce).
- Confirm events appear in Google Ads before you expect strong conversion optimization.
- Publish from Get Shouting; Google applies smart bidding (e.g. Maximize conversions or Maximize conversion value) toward the primary goals on that campaign type.
Without tags and conversion goals, Google can still deliver traffic and impressions, but it cannot optimize toward purchases or leads the way Performance Max is designed to. See Google: lead gen conversion tracking.
Quick Recommendations by Goal
| Your goal | Conversion setup (Google Ads + store) | Campaign type in Get Shouting |
|---|---|---|
| Store sales | Purchase conversion action; Google tags firing on checkout | Performance Max |
| Leads / signups | Lead or Sign-up conversion action on form or thank-you page | Performance Max or Demand Gen |
| Visual prospecting / new brand | Tags optional; add when ready to optimize beyond reach | Demand Gen (YouTube, Discover, Gmail) |
| Low budget display test | Tags optional for reach-only tests | Responsive Display (~$1/day minimum) |
Demand Gen vs Performance Max vs Responsive Display
Get Shouting exposes three Google types at publish. They differ in where ads run, how much Google automates, and what they optimize toward. Google is migrating classic Display campaigns into Demand Gen, so treat Responsive Display as a lower-minimum option while Display inventory moves to Demand Gen (About Demand Gen campaigns). Pick the type in Google ad setup at publish (see screenshot above).
| Type | Where ads show | What it optimizes for | Use when | Get Shouting notes |
|---|---|---|---|---|
| Demand Gen (recommended) | YouTube (incl. Shorts), Discover, Gmail, Maps, Display Network: visual feeds where people browse, not search | Engagement and conversions from visual discovery; more audience and channel control than PMax | Prospecting new customers with product imagery; mid-funnel demand creation; social-style reach on Google | Square logo (≥144×144); $5/day minimum net spend |
| Performance Max | All Google inventory: Search, Shopping, Display, YouTube, Discover, Gmail, Maps | Conversions across every channel; Google AI picks placements and bids toward your conversion goal | Store sales with conversion tags on site; you want Google to hunt buyers everywhere, not just visual feeds | Google tags on store recommended; less placement control |
| Responsive Display | Google Display Network (sites and apps) | Reach and remarketing at lower cost per impression; banner-style display | Small-budget display test or remarketing-style reach; lowest daily minimum | ~$1/day minimum; logo recommended; format being absorbed into Demand Gen |
- Pick Demand Gen when strangers do not know your brand yet and you want visual prospecting on YouTube, Discover, and Gmail; closest to paid social discovery.
- Pick Performance Max when conversion tracking is solid and the goal is maximum orders across Search and every other Google surface (Google: Performance Max).
- Pick Responsive Display when budget is tight and you only need Display Network reach; plan to move to Demand Gen as Google completes the Display migration.
Also see: Meta Ads · TikTok Ads · How Paid Ads Work · Connect Google Ads.
Optimize After Launch
- Analyze → Paid Social: spend, impressions, clicks, conversions, ROAS (syncs within ~24 hours).
- Campaigns → Paid Social → Manage Live Ads: pause/resume, flight dates, gross budget.
- Campaign → Optimize tab: AI suggestions for winners, fatigue, budget reallocation (Apply or Dismiss).
- Refresh creative every 2–4 weeks when performance fatigues.
Copy / Template You Can Steal
Google ads in Get Shouting:

Connect: Paid Ad Settings → Google Ads (customer account ID)
Google Ads account: Goals → Conversions (Purchase, Lead, etc.)
Store: Google tags via Shopify/WooCommerce app
Publish: Google ad setup → campaign type + gross spend + flight
Go live: ENABLED in Google Ads (no activate step)

Goal → conversion goal → campaign type:
Store sales → Purchase tag → Performance Max
Leads / signups → Lead or Sign-up tag → Performance Max or Demand Gen
Visual prospecting → tags optional → Demand Gen ($5/day + square logo)
Low budget display → tags optional → Responsive Display (~$1/day)

Types:
Demand Gen = YouTube, Discover, Gmail, Maps, Display: visual discovery
Performance Max = all Google inventory: conversions everywhere
Responsive Display = GDN only: cheapest reach

Creative: clean product photo (no overlay); logo + headline separate
Track: Analyze → Paid Social | Manage Live Ads
Do It in Get Shouting
Step-by-step: Connect Google Ads, Choose Paid Campaign Type, Create an Ad, Manage Live Ads.
- In Google Ads, set conversion actions under Goals → Conversions (Purchase, Lead, etc.).
- Install Google tags on your store and confirm events fire in Google Ads.
- Open Paid Ad Settings → Google Ads → OAuth → save your 10-digit customer account ID.
- Build an ad with a clean product photo (no text overlay) → Publish to Google Ads (paid).
- In Google ad setup, pick Demand Gen, Performance Max, or Responsive Display → set gross spend and flight dates → publish.
- Verify the campaign is ENABLED in Google Ads for your flight dates.
- After ~48 hours, check Analyze → Paid Social and Manage Live Ads.
Keep in Mind
- Clean product photo: Google receives your product image without designed overlay; text, badges, and CTA graphics on Ad Preview are not sent to Google.
- Logo separate: Google assembles headline, logo, and button from brand settings. Demand Gen requires a square logo (≥144×144).
- Conversion goals live in Google Ads: Get Shouting does not expose a conversion-goal picker for Google. Set primary conversion actions in Google Ads and match them with tags on your store.
- Tags on store: Get Shouting does not install Google tags on your storefront; install them separately (Store conversion tracking).
- Two levers: conversion goals + tags (what Google optimizes toward) and campaign type at publish in Get Shouting (where ads can run).
- Published Google campaigns are ENABLED immediately; no pause-and-activate step like Meta.
Related How-To Guides
Apply Your Knowledge
Start your free trial and follow along in Get Shouting.
Start Your Free Trial TodayNo credit card required • 14-day free trial • Cancel anytime