How to Use the Email Editor
The Email Editor is the rich text editor used to create and finalize your emails, apply Design Templates and Content Templates, insert surveys, and send via Email Campaigns or automated CRM Journeys. This guide covers the metadata bar, toolbar controls, surveys, templates, images, and merge tags.
Where the Editor Appears
The same editor is used in three places, each with the same toolbar and image controls: Campaign Editor, Design Template Editor, and the Content Template Editor.
The editor auto-saves when you switch browser tabs. Click Save in the top bar at any time to commit manually.
Editor Bar: Campaign Metadata
The campaign editor top bar has two rows. Row 1 holds Name, Subject, Preheader, Sender Email, and Preview / Save / Schedule. Row 2 holds Recipient List and Segment pickers — choose at least one before scheduling. These fields are only visible in the campaign editor. The Content Template Editor has its own metadata fields in the settings panel above the body.

Name
The internal Campaign name shown in your campaigns list and analytics, but never sent to recipients. Click to edit inline.
Subject
The email subject line — what recipients see in their inbox before opening. Keep it concise and compelling. Supports merge tags (e.g. Hi {{firstName}}, your sale is here).
Preheader
The preview text shown after the subject in the inbox (most email clients display 40–140 characters). Use this to complement the subject and improve open rates.
Sender Email
Read-only strip showing your configured From name and email address (e.g. Get Shouting <support@yourstore.com>). To change this, go to Email → Sender Settings.
Preview / Save / Schedule
Preview — opens a full email preview dialog showing the rendered email in both desktop and mobile views.
Save — manually saves the current state of the campaign as a draft.
Schedule — opens the scheduling dialog to set a future send date and time. Requires at least one recipient list or segment to be selected.
A/B Test Panel
On Pro and Agency plans, draft campaign editors include an A/B test panel directly below the Subject and Preheader fields. Enable it to test up to four variants of your subject line, preview text (preheader), and/or from name. The email body and design are shared across all variants.
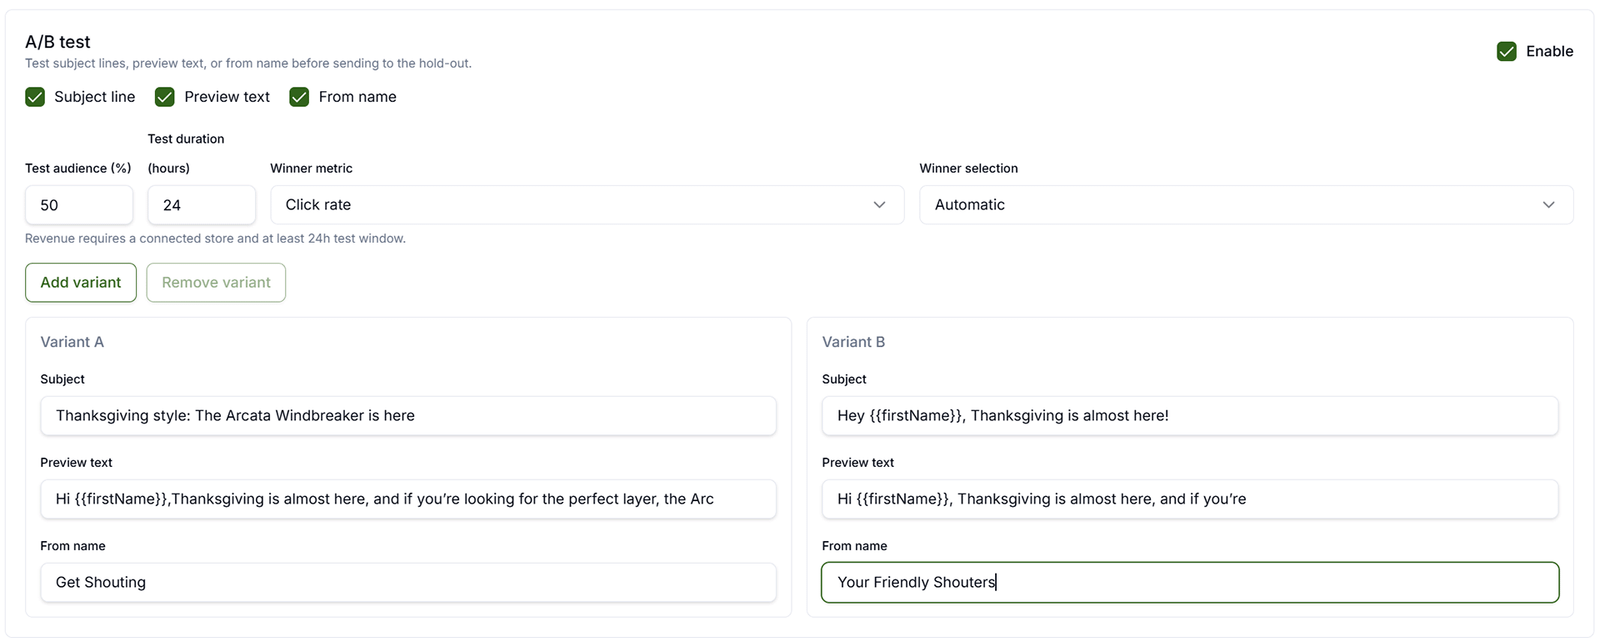
Configure test audience (%), test duration (hours), winner metric (click rate or revenue), and automatic or manual winner selection, then schedule or send as usual. At less than 100% test audience, a hold-out group waits for the winning variant after the test period.
Full setup steps, send timing, and post-send analytics: Email Campaigns → A/B Testing.
Editor Toolbar
The toolbar sits below the metadata fields and above the email body editing area. Annotations 6–15 correspond to the numbered labels in the screenshot above.
Font family
Dropdown to select the font family for the selected text. The available fonts are the Google Fonts loaded by the active Design Template. Choosing a font here affects the selected text in the email body.
Text / heading style
Selector for applying a paragraph style to the current block — Normal (body paragraph), H1, H2, or H3. Headings automatically inherit the Brand Color from the active Design Template.
Formatting — Bold, Italic, Underline, text color, alignment
Applies inline character styles to selected text: B Bold, I Italic, U Underline. The color chip opens a color picker to set the text color. The four alignment icons set paragraph alignment: left, center, right, or justify.
Lists and Indentation
Inserts an unordered (bullet) list or an ordered (numbered) list at the cursor position. The indent and dedent buttons increase or decrease the nesting level of the selected list item or paragraph.
M / A / B — Main, Accent, and Background Colors
Three quick-access tools grouped together:
M (Main) — opens the color picker which will affect the Main color theme of your email.
A (Accent) — opens the color picker which will affect the Accent color theme of your email.
B (Background) — opens the color picker which will affect the Background color theme of your email.
Emoji, Link, Image, and Mail Merge variables
Emojii Picker — Opens the emoji picker to insert a Unicode emoji at the cursor position. Works in all email clients that support Unicode (most modern clients).
Link — Opens a dialog box for adding a link to the selected text.
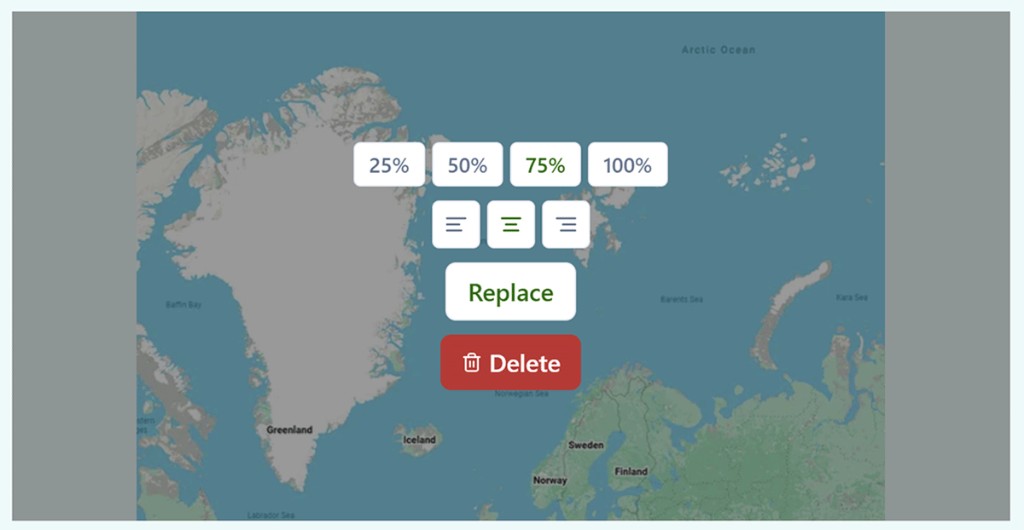
Image — Opens the Image Upload dialog box for adding an image to your email. It’s important to note that you want to keep your email file size as small as possible, and we set a cap on emails of 1MB.
Mail Merge — Allows you to insert a Mail Merge variable into your email. This is a variable that will be replaced with the actual value when the email is sent. For example, if you have a field called "First Name" in your CRM, you can insert {{firstName}} into your email and it will be replaced with the actual first name of the recipient when the email is sent. There is more on Mail Merge Variables below.
Button Maker
Allows you to create a styled button in your email. It’s best to already have your button text, then select that text and click the Button Maker tool.
Design Template Selector
Opens a menu of all of your available Design Templates, including the free and any custom templates you may have created. After applied, these designs can be edited as needed. Pro & Agency plans can create unlimited custom Design Templates.
Content Template Selector
Opens a menu of all of your available Content Templates, including the free and any custom templates you may have created. After applied, these designs can be edited as needed. Pro & Agency plans can create unlimited custom Content Templates.
AI Generate
Allows you to generate an email from a URL and the prompt you select. Pro & Agency plans can create unlimited custom AI prompts.
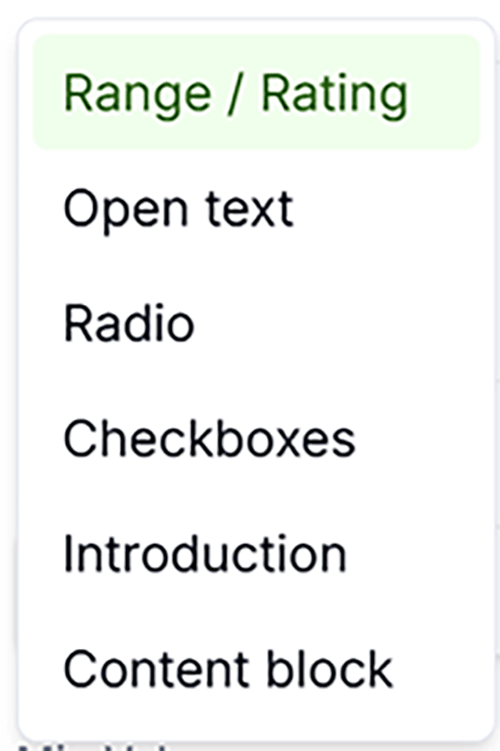
+Survey
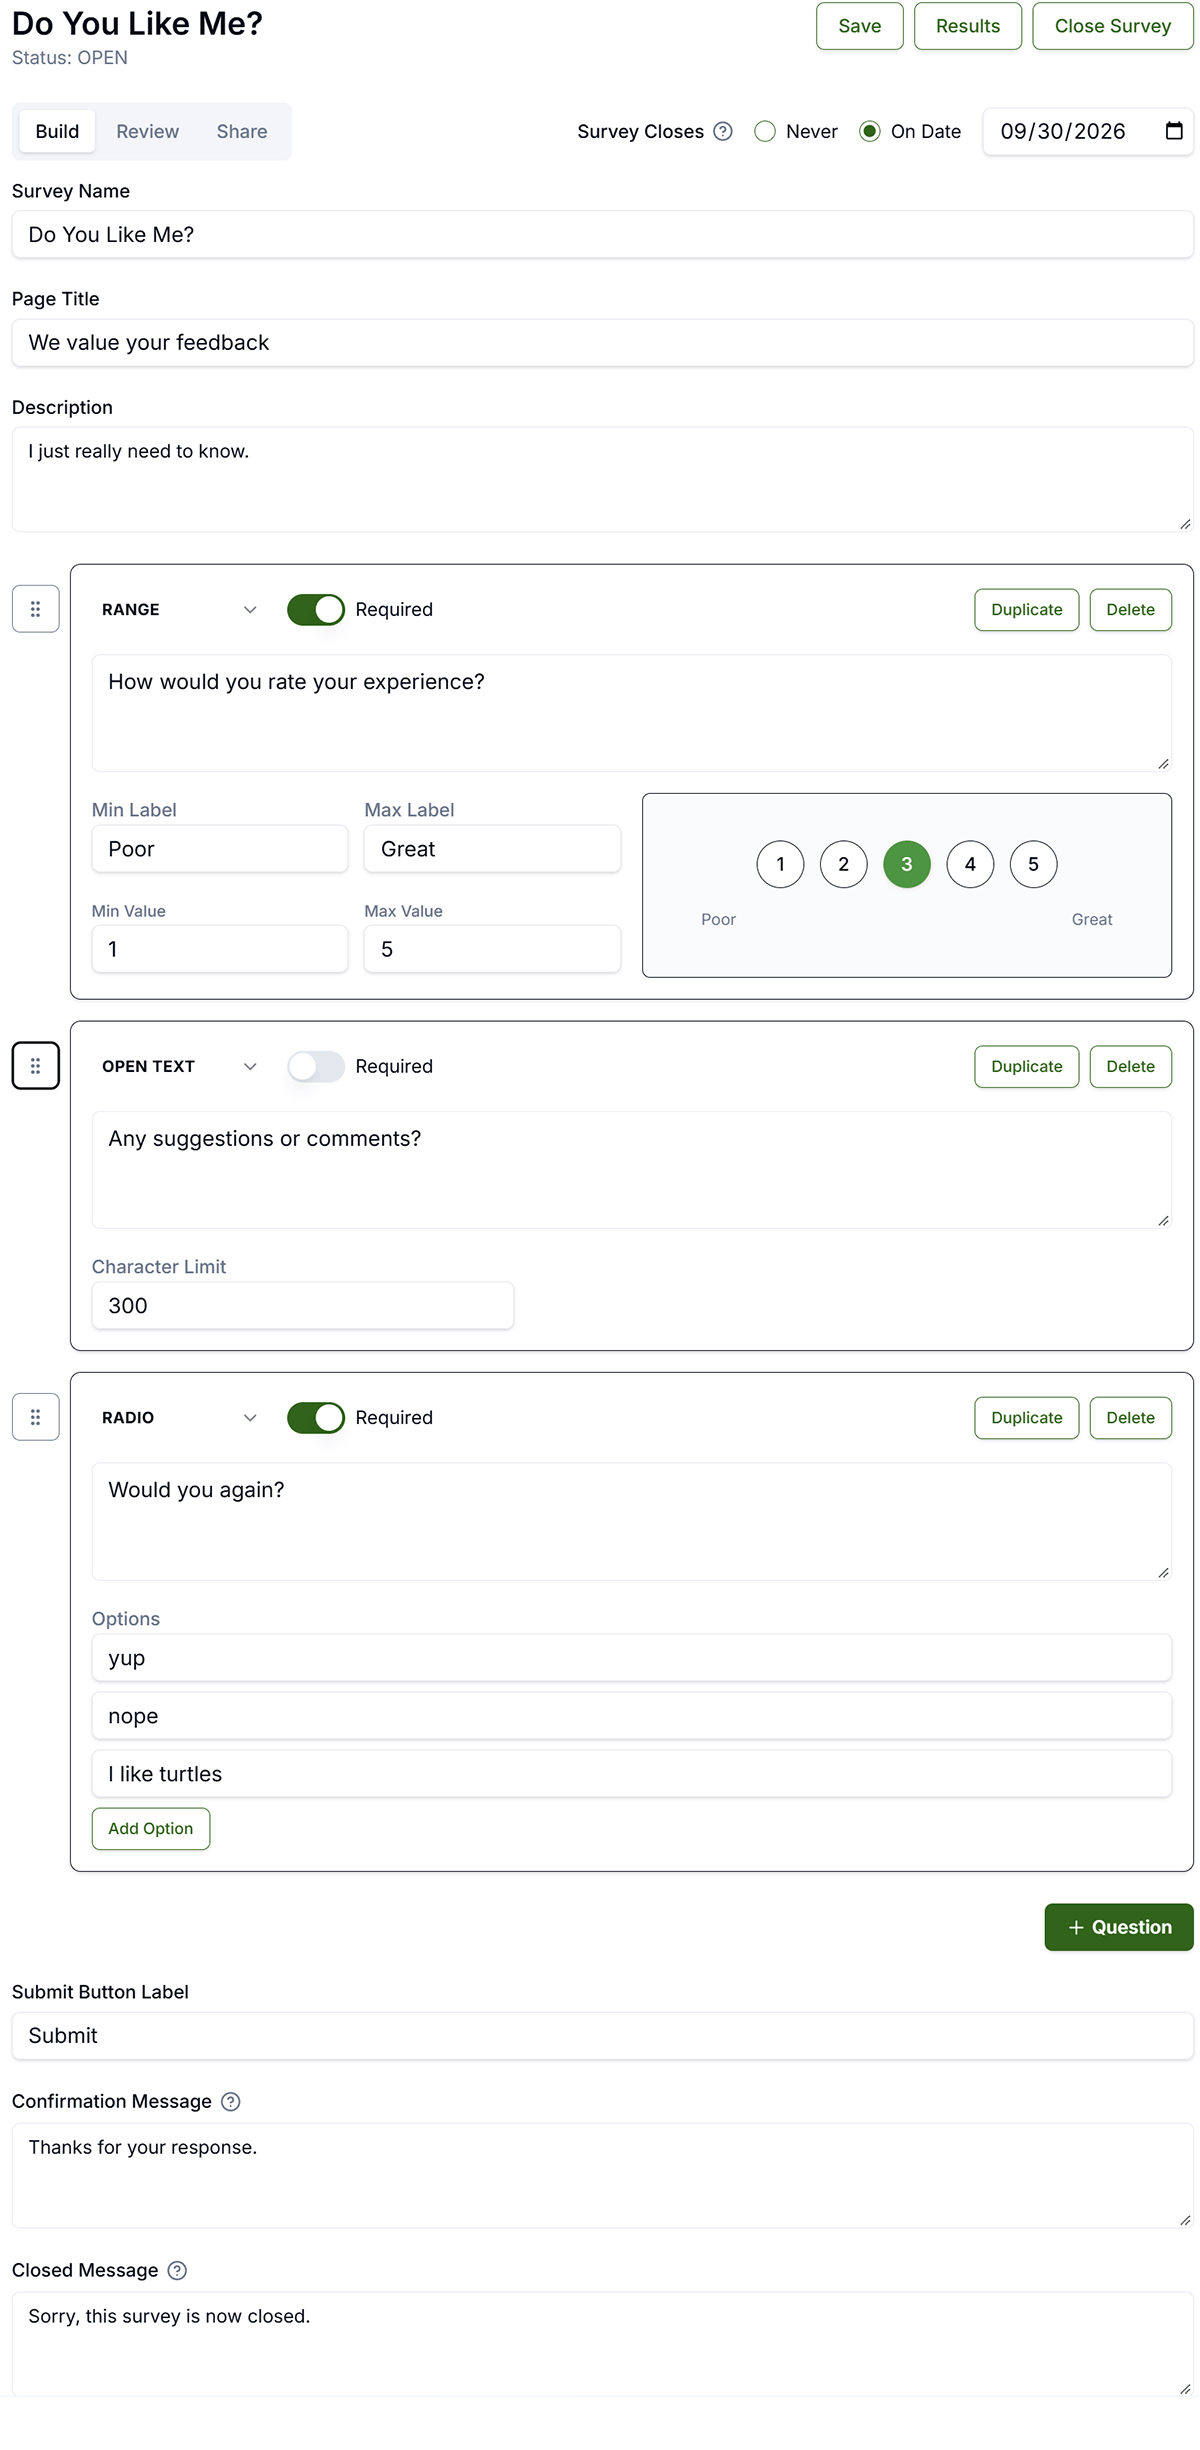
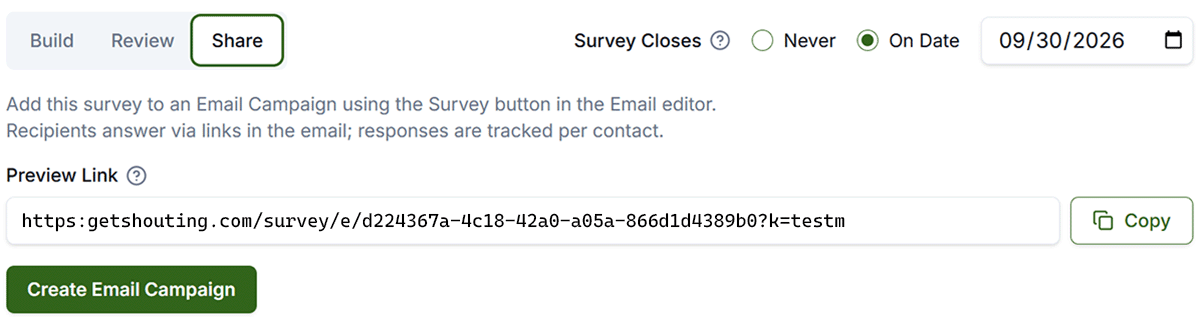
Dropdown on Pro and Agency plans. Lists your published (open) surveys. Select one to insert an inline survey block at the cursor. See Email Surveys below.